

Key Takeaways
- One focused hour of prep on the weekend dramatically reduces daily cooking decisions and time.
- Prepping ingredients rather than full meals offers more flexibility throughout the week.
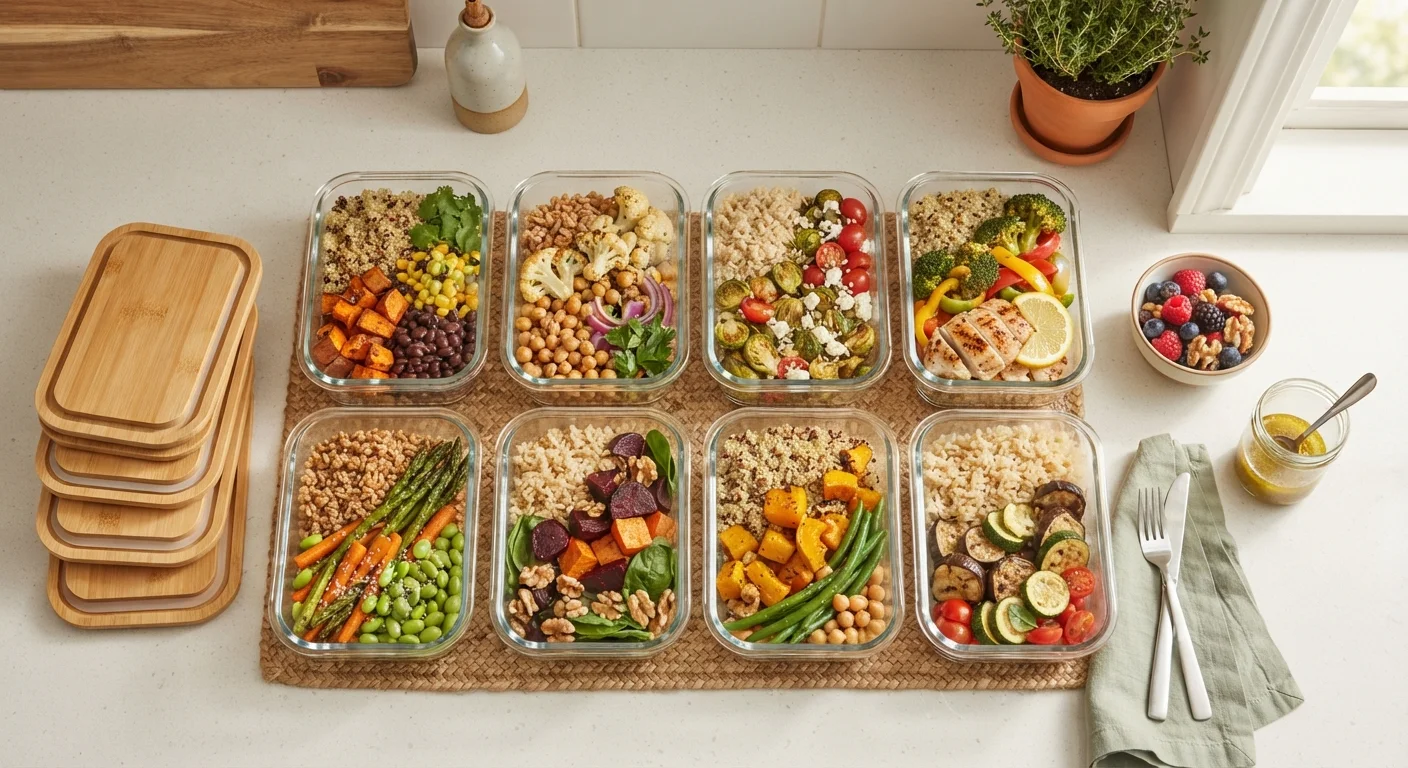
- Batch-cooking grains, proteins, and roasted vegetables creates interchangeable building blocks.
- Proper storage in clearly labeled containers keeps prepped food safe and accessible.
- Consistent meal prep supports both nutritional goals and household grocery budgets.
What you will need
Why Ingredient Prep Beats Full-Meal Batch Cooking
Many families abandon meal prep because eating the same reheated dish five nights in a row feels monotonous. A more sustainable approach is component-based prep: cooking versatile building blocks rather than complete meals. Cooked brown rice works in a grain bowl Monday, a stir-fry Tuesday, and a burrito wrap Wednesday. That flexibility prevents the fatigue that derails good intentions.
This method also aligns well with a household budget. Buying ingredients in bulk and turning them into multipurpose components reduces both food waste and last-minute takeout spending. For families already exploring ways to stretch grocery dollars, see our guide on feeding a family on a budget without cutting nutritional corners.
What you will need
Sheet pan
Roasts vegetables and proteins evenly in the oven while stovetop grains cook simultaneously.
Large stockpot or rice cooker
Cooks a large batch of grains such as brown rice, quinoa, or farro.
Airtight storage containers
Keeps prepped components fresh and organized in the refrigerator or freezer.
Cutting board and sharp chef's knife
Speeds up vegetable and protein prep significantly.
Masking tape and marker
Labels containers with contents and prep date for safe storage tracking.
Slow cooker or Instant Pot
Hands-off batch cooking of beans, legumes, or tougher cuts of protein.
Step-by-Step: Your One-Hour Prep Session
The sequence below is designed so multiple components cook simultaneously, keeping the session under 70 minutes for most households. Read through all steps before you begin so oven and stovetop timing can overlap.
Plan your components before you shop
Choose two to three proteins (e.g., baked chicken thighs, hard-boiled eggs, canned or dried beans), two grains (e.g., brown rice and quinoa), and three to four vegetables that roast well together. Write these down alongside how many servings your household needs for the week. Shopping from a focused list prevents overbuying and reduces waste.
Start grains first - they take the longest
Rinse your grains and start them on the stovetop or in a rice cooker before doing anything else. Brown rice typically takes 40-45 minutes; quinoa takes about 15 minutes. Starting grains first means they'll finish around the same time as your oven items, maximizing efficiency.
Prep and roast your vegetables
While grains cook, chop vegetables into uniform pieces for even roasting. Toss with a small amount of olive oil, salt, and pepper. Spread in a single layer on a sheet pan - crowding causes steaming rather than roasting. Roast at 400°F for 20-25 minutes, flipping once halfway through.
Cook your proteins
Season proteins simply so they stay versatile. Baked chicken thighs at 400°F take 25-30 minutes (internal temperature should reach 165°F per USDA guidelines). Hard-boil a full dozen eggs in a separate pot - they keep for up to a week in the shell. If using dried beans, a pressure cooker dramatically cuts cooking time.
Wash and portion raw produce
While hot items cool slightly, wash and dry salad greens, cut fruit, and prep any raw vegetables for snacking. Store these separately from cooked components. Having washed, ready-to-eat produce at eye level in the refrigerator makes healthy choices the easy default throughout the week.
Cool, label, and store everything
Allow hot foods to cool for no more than 30 minutes before refrigerating - the USDA advises against leaving cooked food at room temperature for more than two hours. Transfer each component into its own labeled container with the preparation date. Arrange containers clearly in the fridge so every family member can access them independently.
Mix and Match for Variety All Week
Think of your prepped components as a modular system. Grains, proteins, and vegetables can be combined into grain bowls, wraps, soups, omelets, or salads - meaning the same prep session supports very different meals each day. Varying seasonings and sauces at serving time is the simplest way to keep things feeling fresh without extra cooking.
Storage, Safety, and Making It a Lasting Habit
Food safety guidelines from the USDA recommend storing cooked proteins and grains in the refrigerator within two hours of cooking and consuming them within three to four days. Roasted vegetables generally keep well for up to five days when stored in airtight containers. Label each container with the date prepared so nothing goes unnoticed.
Freeze portions that won't be used by midweek - cooked grains and proteins freeze particularly well. This dramatically cuts down on food waste while keeping future weeks easier.
Refrigerator Storage Has Real Time Limits
Cooked proteins and grains should be consumed within three to four days of preparation, per standard food safety guidance. If your family won't realistically use everything by midweek, freeze individual portions immediately after cooling. Freezing does not improve food that has already begun to degrade - it preserves food that is still at peak quality.
Building this prep habit works best when it connects to a broader household wellness routine. Our article on building healthy habits that actually stick in a busy household offers evidence-informed strategies for making changes like this durable over time. For broader household budget strategies, the Budget-Smart Buying hub has practical resources worth exploring.
This article is for general informational and educational purposes only and is not a substitute for advice from a qualified healthcare professional or registered dietitian. Consult a professional for guidance specific to your family's health needs and dietary requirements.